By David Anderson · Water Systems & Treatment Editor · Updated July 9, 2026
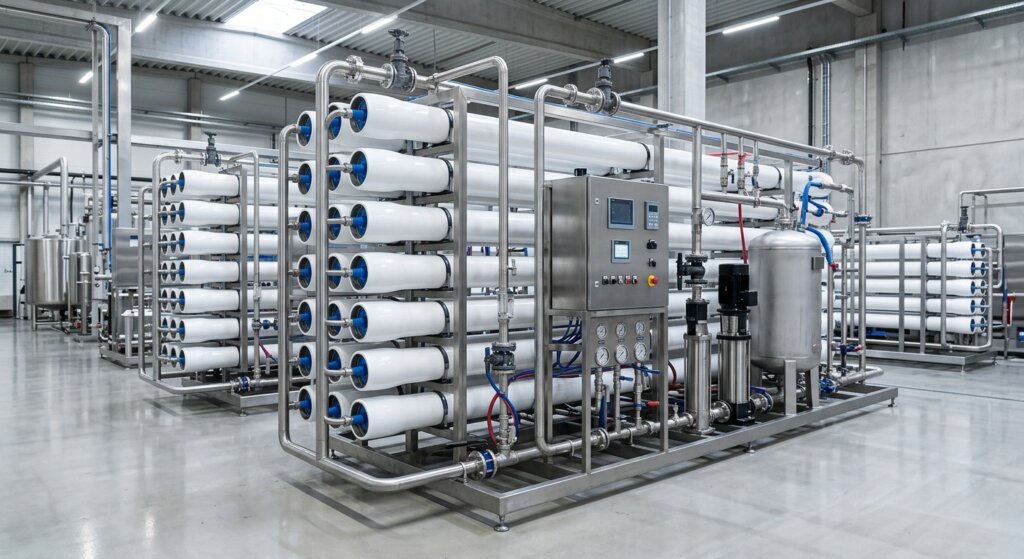
Ask an experienced water engineer where reverse osmosis projects go wrong. Very few will blame the membranes. The costly failures are things like collapsed permeate flow, rising differential pressure, cleanings every few weeks, and membranes replaced at half their rated life. Almost all of them start upstream, in the pretreatment. The train was undersized, built in the wrong order, or bought before anyone tested the feed water.
Pretreatment is not the exciting part of an RO system. It is the part that decides whether the membranes run well for five years or turn into a recurring cost. This guide shows how to design that train the way an engineering team does on a real project: test the water first, set the targets the membranes need, then build each stage to hit them.
Start with the water, not the equipment
The most common mistake in RO projects is choosing equipment before you understand the feed water. A membrane bank sized for “well water” tells you almost nothing. Two wells a mile apart can need completely different trains.
Before you pick any stage, test the feed water for the values that actually drive the design:
- Turbidity (NTU) and total suspended solids (TSS), these set the media filter duty.
- Silt Density Index (SDI15), the best early warning of particle and colloidal fouling at the membrane.
- Total dissolved solids (TDS), this drives osmotic pressure, recovery, and pump size.
- Hardness (Ca, Mg), alkalinity, and sulfate, these set the scaling risk.
- Silica, a hard limit on recovery when it runs high.
- Iron and manganese, fast, stubborn foulants even at low levels.
- Total organic carbon (TOC), organic and biological fouling risk.
- Free chlorine and chloramine, oxidants that ruin polyamide membranes.
- Temperature and pH, temperature shifts flux and pump head; pH changes the scaling numbers.
Two of these numbers drive the front of the train: turbidity and SDI. Hardness, silica, and the scaling indices drive the scale-control section. Every stage you build is an answer to a number on the water report.
Set the target: what the membranes need at the feed
Design the train to a spec, not to a vague idea of “clean.” For polyamide thin-film membranes, the feed-water limits are well known. Every stage exists to keep the feed inside them:
| Feed parameter | Typical target before RO | Why it matters |
|---|---|---|
| SDI15 | < 5 required; < 3 for long life | Main sign of colloidal fouling |
| Turbidity | < 1 NTU, often < 0.5 NTU | Particle load on lead elements |
| Free chlorine | ~ 0 (below ~0.1 mg/L) | Damages polyamide for good |
| LSI | Controlled negative in concentrate | Scaling risk at high recovery |
| Iron and manganese | Very low (commonly < 0.05 mg/L) | Fast, hard-to-clean fouling |
| Temperature | Known and designed for | Flux and pump head change with it |
Treat these targets as a contract the train has to meet. Always confirm the exact figures against the membrane maker’s guidelines and your own water. But the habit of designing to a target is what separates a solid train from a hopeful one.
Stage 1: Suspended solids and turbidity (media filtration)
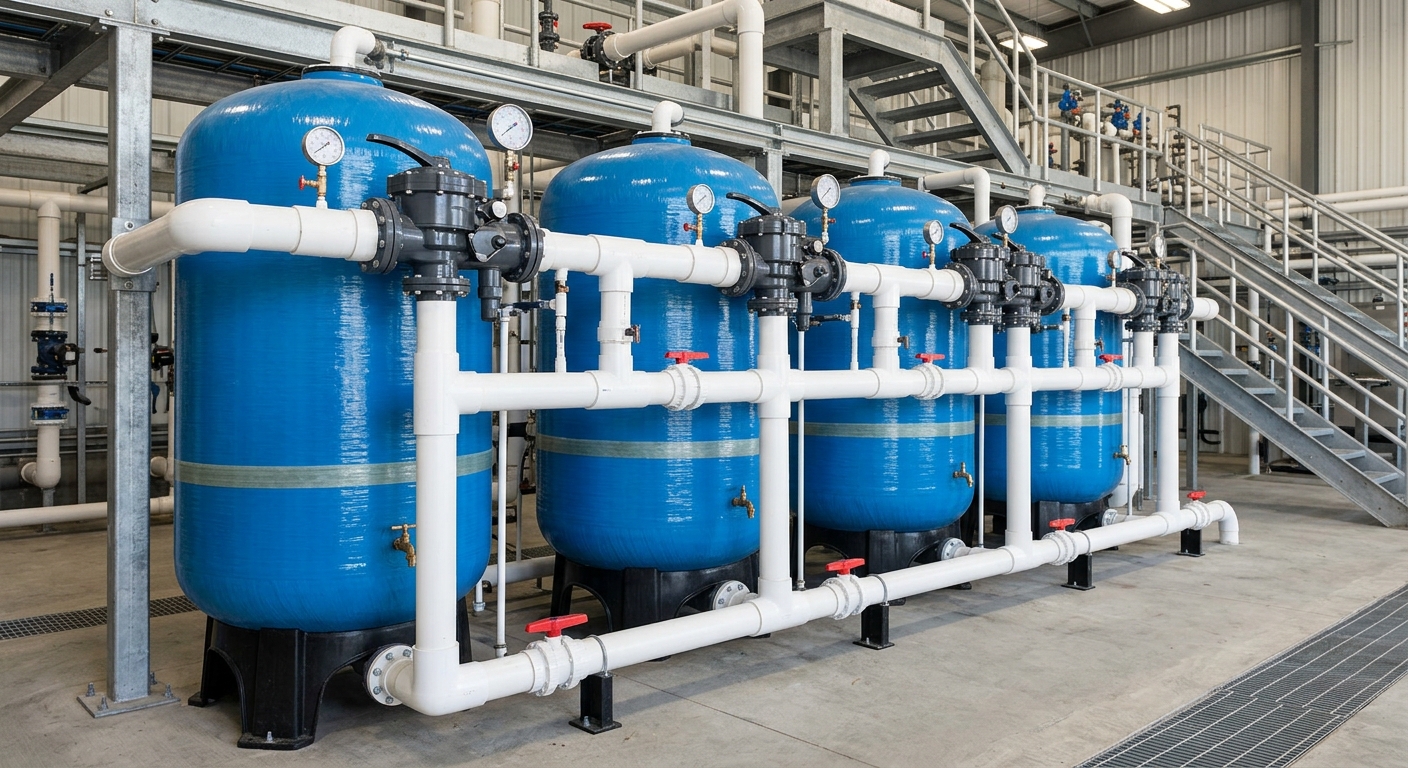
The first barrier strips out turbidity and suspended solids. It protects the finer, more expensive equipment behind it. This stage is almost always a pressure-vessel media filter, and the first choice is sand or multimedia.
A quartz sand filter works well as the first stage when turbidity and suspended solids are the target and the inlet is fairly steady, roughly the 5-20 NTU band. When the inlet is heavier or swings a lot, a layered multimedia filter is the better pick. It filters deeper and holds more solids between backwashes.
A few design levers decide how well this stage performs:
- Media grade and grading. Finer grades give the tight grain-to-grain contact that pre-RO and pre-UF duty needs. Coarser grades run faster at lower pressure drop, fine when a 3-5 NTU outlet is enough.
- Filtration velocity. Fine media for membrane pretreatment usually runs around 8-12 m/h. Push velocity up and turbidity slips through, raising SDI at the membrane.
- Bed depth. Usually 0.6-1.5 m. Deep beds help when you want longer runs between backwashes.
- Backwash design. The trigger is differential pressure, often about a 0.5 bar rise across the vessel, with a timer backup every 24-72 hours. A good backwash expands the bed by about 30-50% and washes out trapped fines.
The failure to design against is a missed or undersized backwash. Differential pressure climbs, throughput falls, then packed fines punch through the bed and land straight on the lead RO elements. It is the classic case of a membrane problem that really started three vessels upstream.
Two limits are worth flagging. A media filter is not an absolute micron barrier, colloids under 2 microns can slip through a sand bed. To reach an SDI below 3 from high-turbidity water, you usually need coagulant dosing ahead of the filter, or ultrafiltration. On hard, variable, or heavily colloidal surface water, UF holds a low, steady SDI that media filters struggle to match.
Stage 2: Organics, chlorine, and taste and odor
A media filter removes particles. It does nothing about dissolved organics, chlorine, or taste and odor. One of them matters a lot: free chlorine destroys polyamide membranes, and the damage does not reverse. Once the membrane is oxidized, salt passage rises and no cleaning brings it back.
You have two ways to protect the membrane:
- Activated carbon. A granular carbon bed soaks up chlorine and a good share of organics. Simple, no chemicals, but it needs enough contact time, and a damp carbon bed can grow bacteria. Size it, clean it, watch it.
- Chemical dechlorination. A metered dose of sodium metabisulfite strips free chlorine on demand, confirmed by an ORP sensor. This avoids the bacteria-friendly carbon surface but adds a dosing system to run.
Two things trip people up. Chloramine is much tougher than free chlorine, a standard carbon bed or light dose will not remove it reliably; it needs catalytic carbon or a much higher dose. And when organics drive the fouling, size the carbon bed generously.
Stage 3: Scale control – softening, antiscalant, iron and manganese
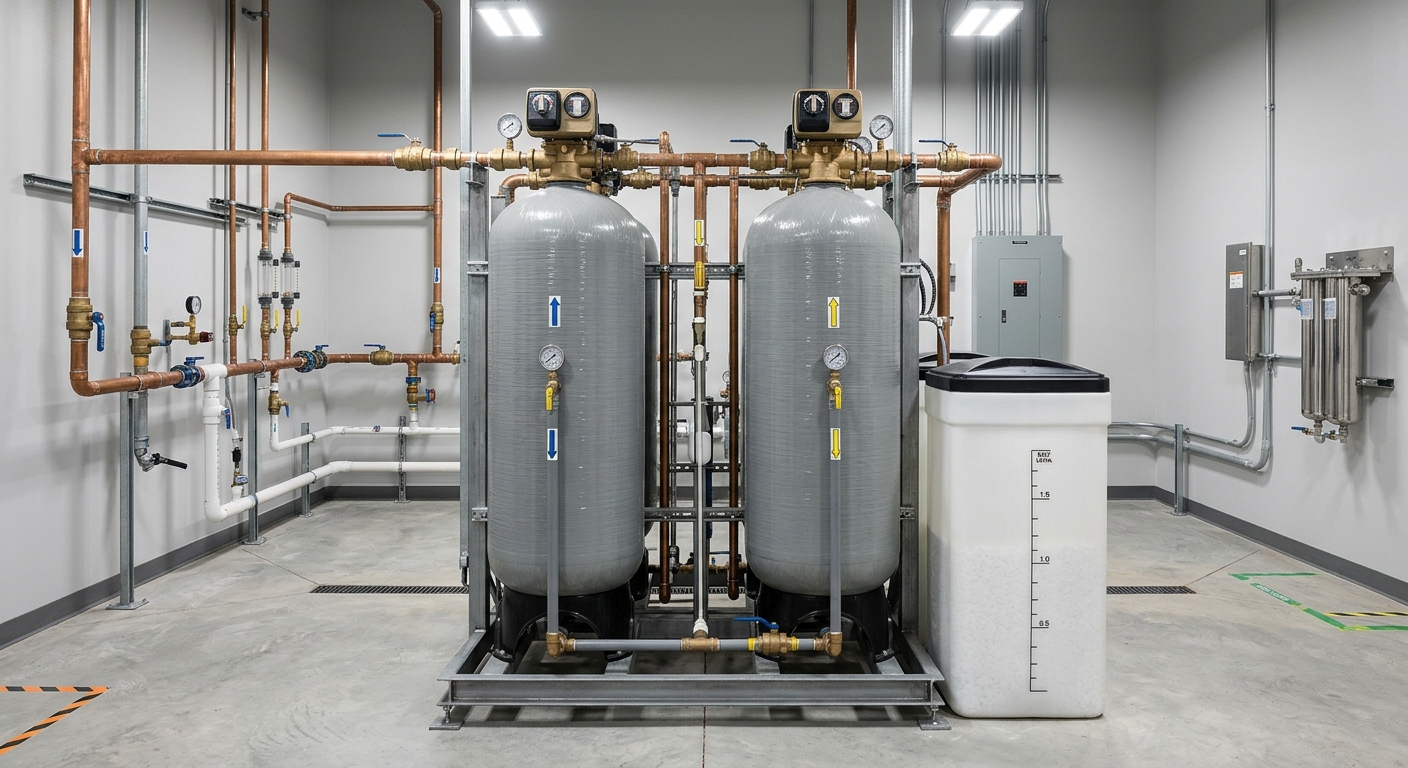
As RO concentrates the reject stream, some salts reach their solubility limit. Calcium carbonate, calcium sulfate, and silica pass saturation and form scale. Scale control is what lets you run high recovery without constant cleaning. Two main approaches, often used together:
- Ion-exchange softening. A cation softener swaps hardness for sodium, removing the calcium and magnesium behind carbonate and sulfate scale. For plants that run around the clock, use a duplex (twin-tank) setup so one tank regenerates while the other stays in service. A single softener with no standby sends a slug of hard water downstream every regeneration. Match the setup (single or duplex), service flow, and regeneration to the plant’s uptime, not to a capacity chart. HIJU water softener systems come in both single- and duplex-tank arrangements for this reason.
- Antiscalant dosing. A metered antiscalant keeps scale-forming ions in solution longer. Dose it on permeate rate matched to feed chemistry, not on raw feed flow, and keep the day tank clean.
Then there is the foulant that punishes small mistakes hardest: iron and manganese. Even low levels foul membranes fast, and the fouling is hard to clean. Dissolved iron that oxidizes inside the system settles right on the membrane. You either keep it dissolved and sequestered, or more often oxidize it and filter it out before the membranes with catalytic or manganese-dioxide media. On any well or groundwater, build iron and manganese removal in from the start.
Silica deserves a note because it sets a hard limit. When feed silica is high, it may cap your recovery. Silica scale is hard to remove, and antiscalants only raise the ceiling so far. If you are comparing whole-system options for the home instead of an industrial plant, our guide to the best reverse osmosis systems covers consumer-scale units.
Stage 4: Final polish and membrane protection (cartridge filters)
Right before the high-pressure pump and the membranes sits a cartridge, or guard, filter, usually 5 microns, sometimes 1 micron. Its job is protection: it catches any fines, resin, or media that got past the stages upstream.
The key idea: cartridges are a guard, not a workhorse. If they clog in days, that is not a cartridge problem, it is a signal that the media stage upstream is failing. Size them right, log the differential pressure across the housing, and they are cheap insurance. Use them as the main particle barrier and they become a running cost that hides a design flaw.
Putting the train together
The standard order follows simple logic: coarse to fine, oxidize before you remove, and protect the membrane last.
Source water → coagulation (if needed) → media filtration → activated carbon or dechlorination → softening and/or antiscalant, plus iron and manganese removal → 5 micron cartridge guard → high-pressure pump → RO membranes
The same logic gives very different trains depending on the water. Compare two feeds:
| Turbid surface water | Hard well water | |
|---|---|---|
| Main challenge | High, variable turbidity plus organics | Hardness, iron, low turbidity |
| Stage 1 | Coagulation plus multimedia (or UF) | Simpler sand filter |
| Stage 2 | Generously sized carbon | Dechlorination if chlorinated |
| Stage 3 | Antiscalant | Softening (duplex) plus iron/manganese media |
| Governing number | SDI (colloidal fouling) | LSI and iron limits |
Same membranes, same target spec, but a completely different front end, because the water is different. That is the reason you design from the water analysis outward. It also points to a sourcing choice: buyers often prefer one manufacturer that builds the whole train in-house, HIJU is one example, so a single team owns how the stages fit together rather than piecing the line together from several suppliers.
Commission it, then track the right numbers
Even a good train needs a baseline. At startup, normalize and record the key numbers, then track them so you can see drift before it turns into a cleaning:
- SDI and feed turbidity, the front-end health check.
- Differential pressure across each stage, the first warning that a bed or cartridge is loading up.
- Backwash frequency and trigger, is the media stage keeping up?
- Normalized permeate flow and salt passage, the final verdict on everything upstream.
The most useful habit is to track SDI and stage-by-stage differential pressure together. When SDI creeps up and stage-1 differential pressure rises first, you fix pretreatment before you touch the membranes.
Common pretreatment design mistakes
- Buying equipment before testing the water. The original sin. Every other mistake follows from it.
- Using cartridge filters as the workhorse. They are a guard. Fast clogging is a warning, not a supplies budget.
- Ignoring temperature. Cold winter water lowers flux and raises pump head. Design for the worst case.
- Running one softener on a continuous plant. No standby means a slug of hard water every regeneration.
- Undersizing the backwash. A media filter that cannot backwash well just injects fines at your lead elements.
- Treating chloramine like free chlorine. It is tougher, and a standard carbon bed lets it through.
Conclusion
RO membranes are only as reliable as the water you give them. Build the train from a real water analysis. Size it to hold SDI and turbidity inside the membrane’s limits. Handle scale and oxidants on purpose, and keep the guard filter as just a guard. Test the water first, set the target the membranes need, and build every stage as an answer to a number. Get that right, and the membranes mostly look after themselves. For home-scale water quality questions, explore our guides on water filtration.